Buying guide
8 Design Tips That Reduce Machining Cost Without Hurting Quality
Small drawing changes that cut setup time, tooling and scrap, from a workshop’s point of view.
2 min readBy the Alhamd Technologies team
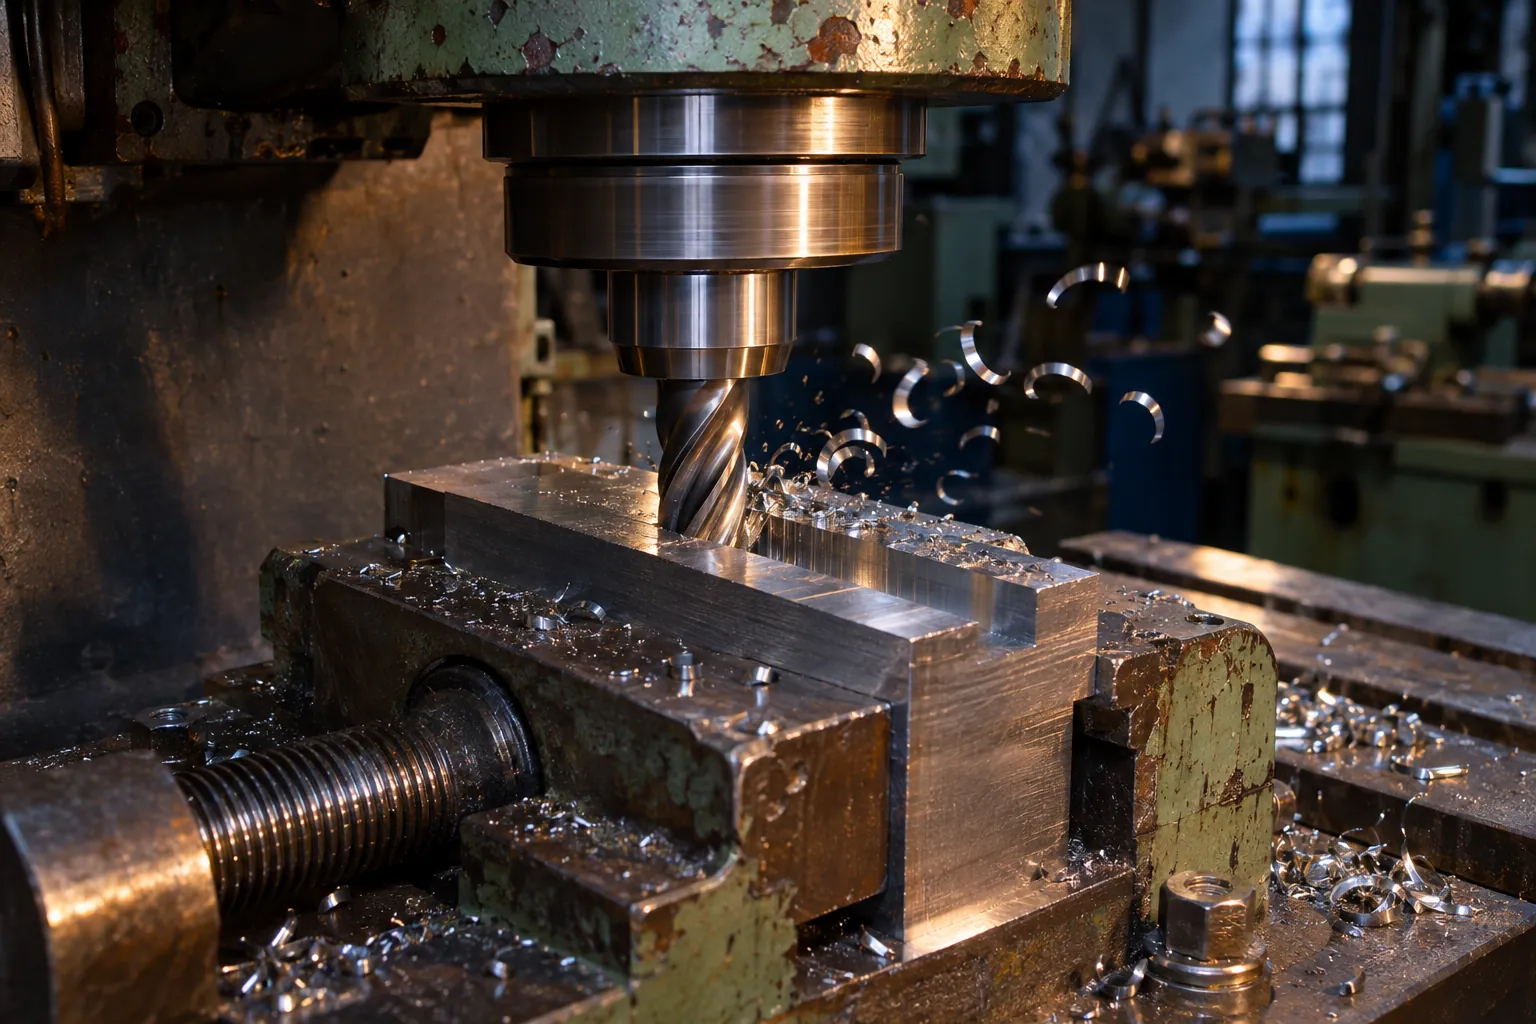
Machining cost is mostly time: time to set up, time to cut, time to measure. Designers control more of that time than they realise. These eight habits make a part cheaper to produce while keeping every function intact.
1. Tolerance only what matters
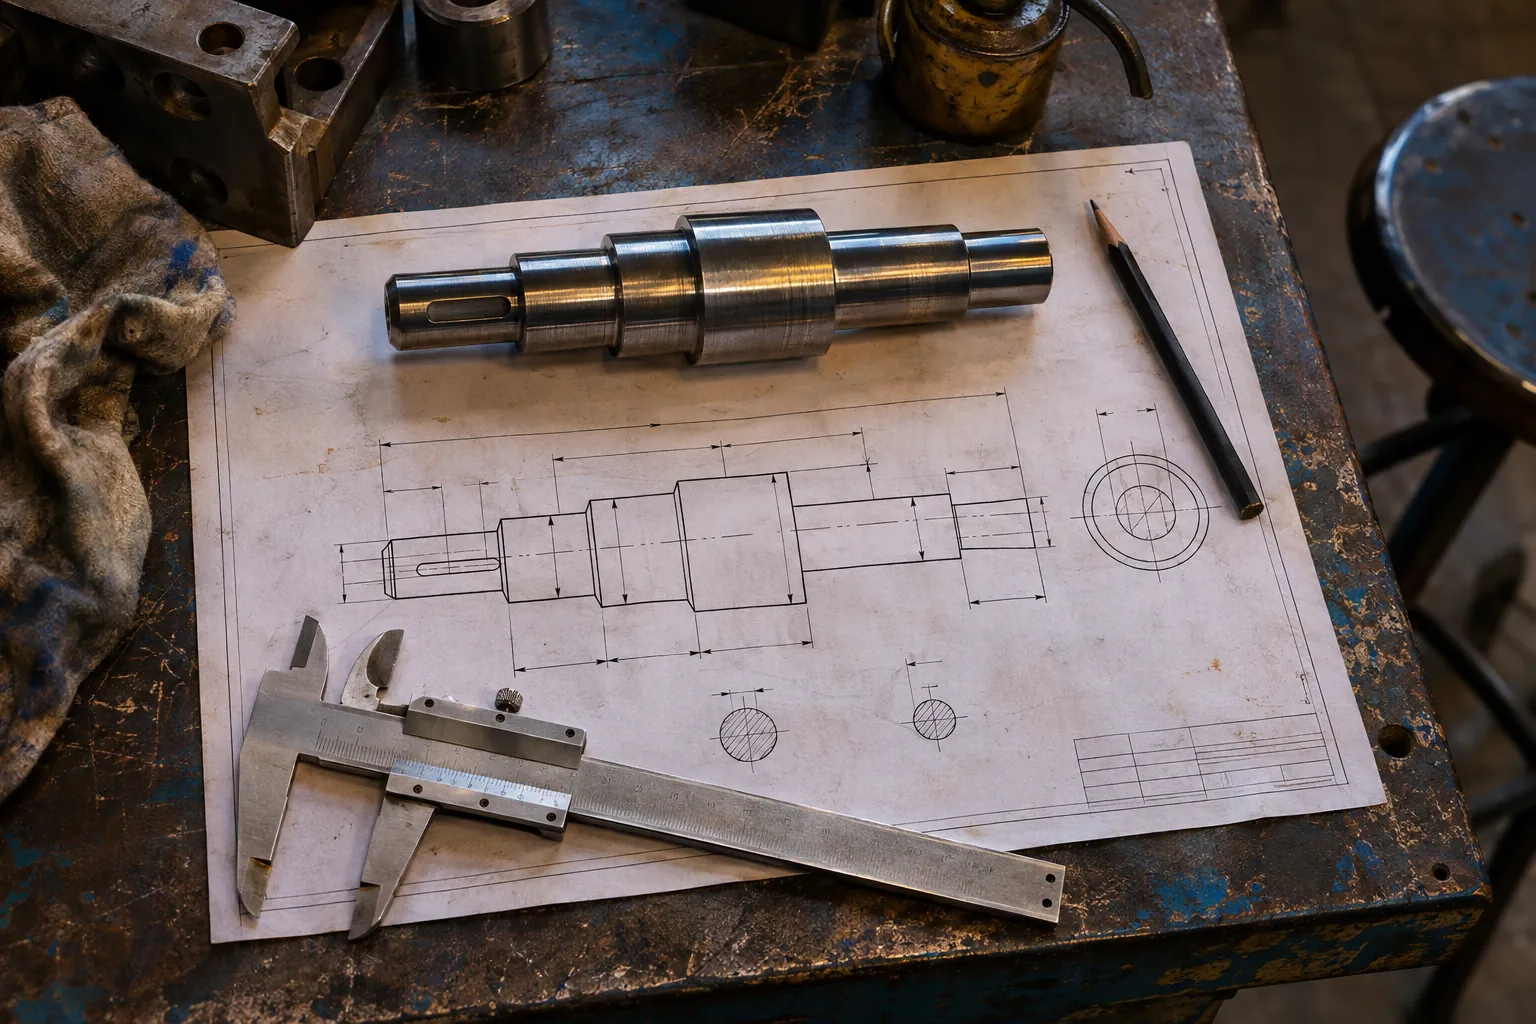
Tight limits belong on fits and sealing faces. Everywhere else, a general tolerance is enough and far quicker to achieve.
2. Add corner radii to pockets
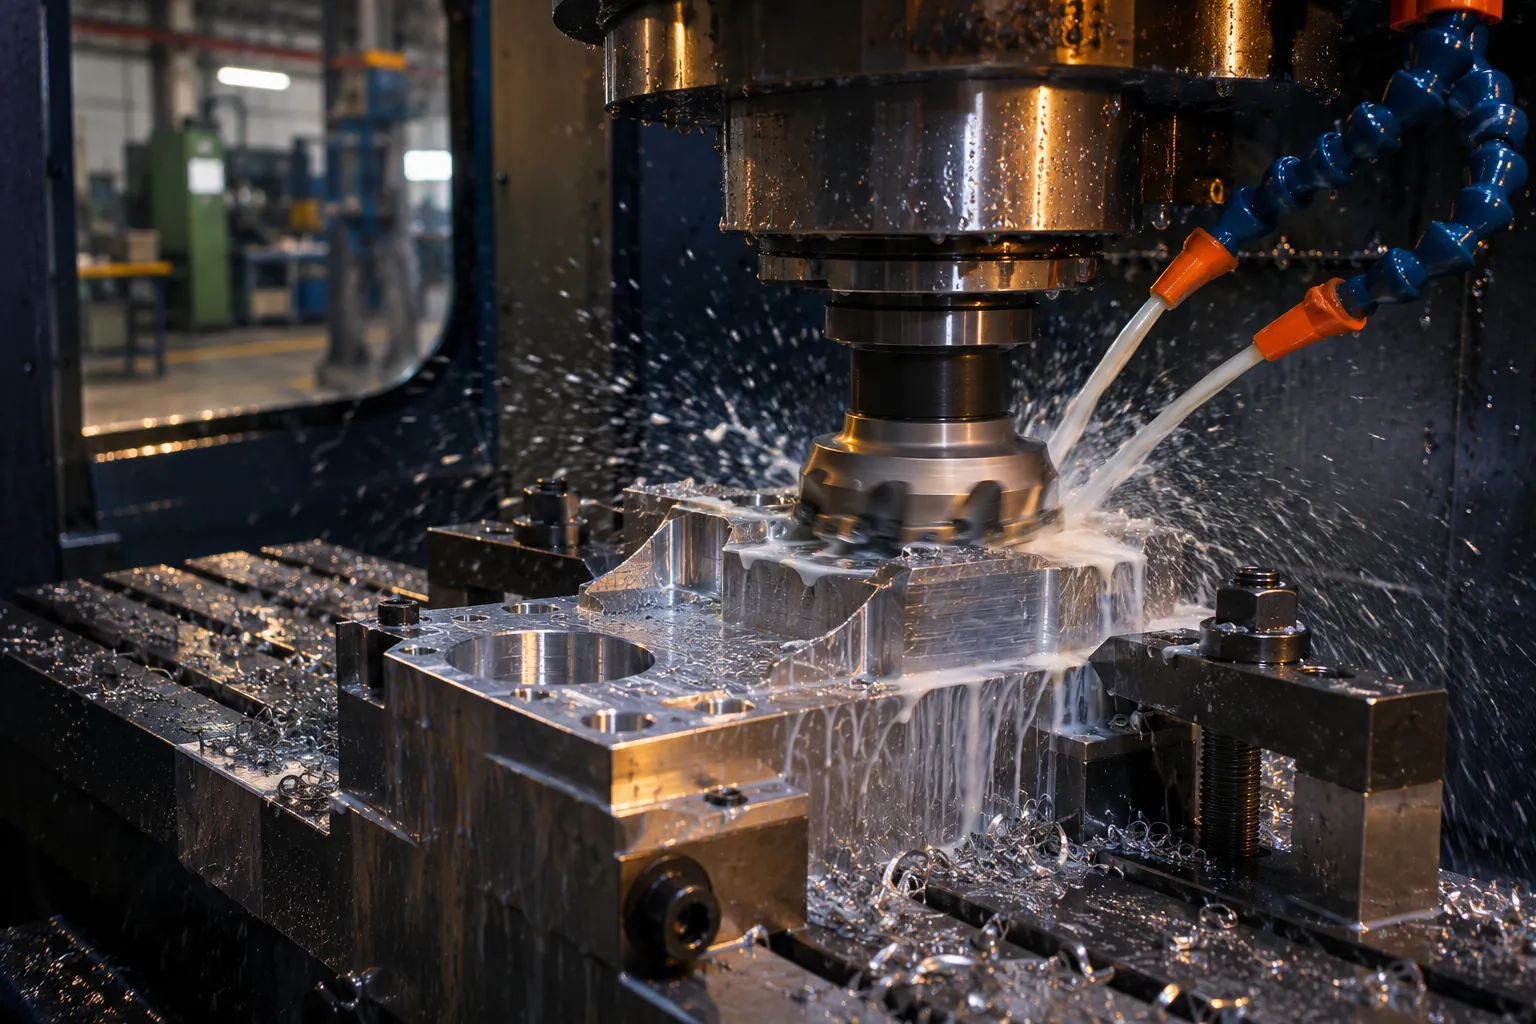
A milling cutter is round, so a perfectly sharp internal corner is impossible without EDM. Specify a radius slightly larger than a standard cutter.
3. Use standard hole and thread sizes
Standard drills and taps are on the shelf. Odd sizes mean special tooling or slow boring operations.
4. Avoid very deep holes and pockets
Depths beyond about four times the tool diameter need special tools and slower cutting. If a deep feature is essential, widen it.
5. Design for fewer setups
Every time a part is unclamped and turned over, time is spent and accuracy is risked. Put features on as few faces as possible.
6. Start from stock sizes
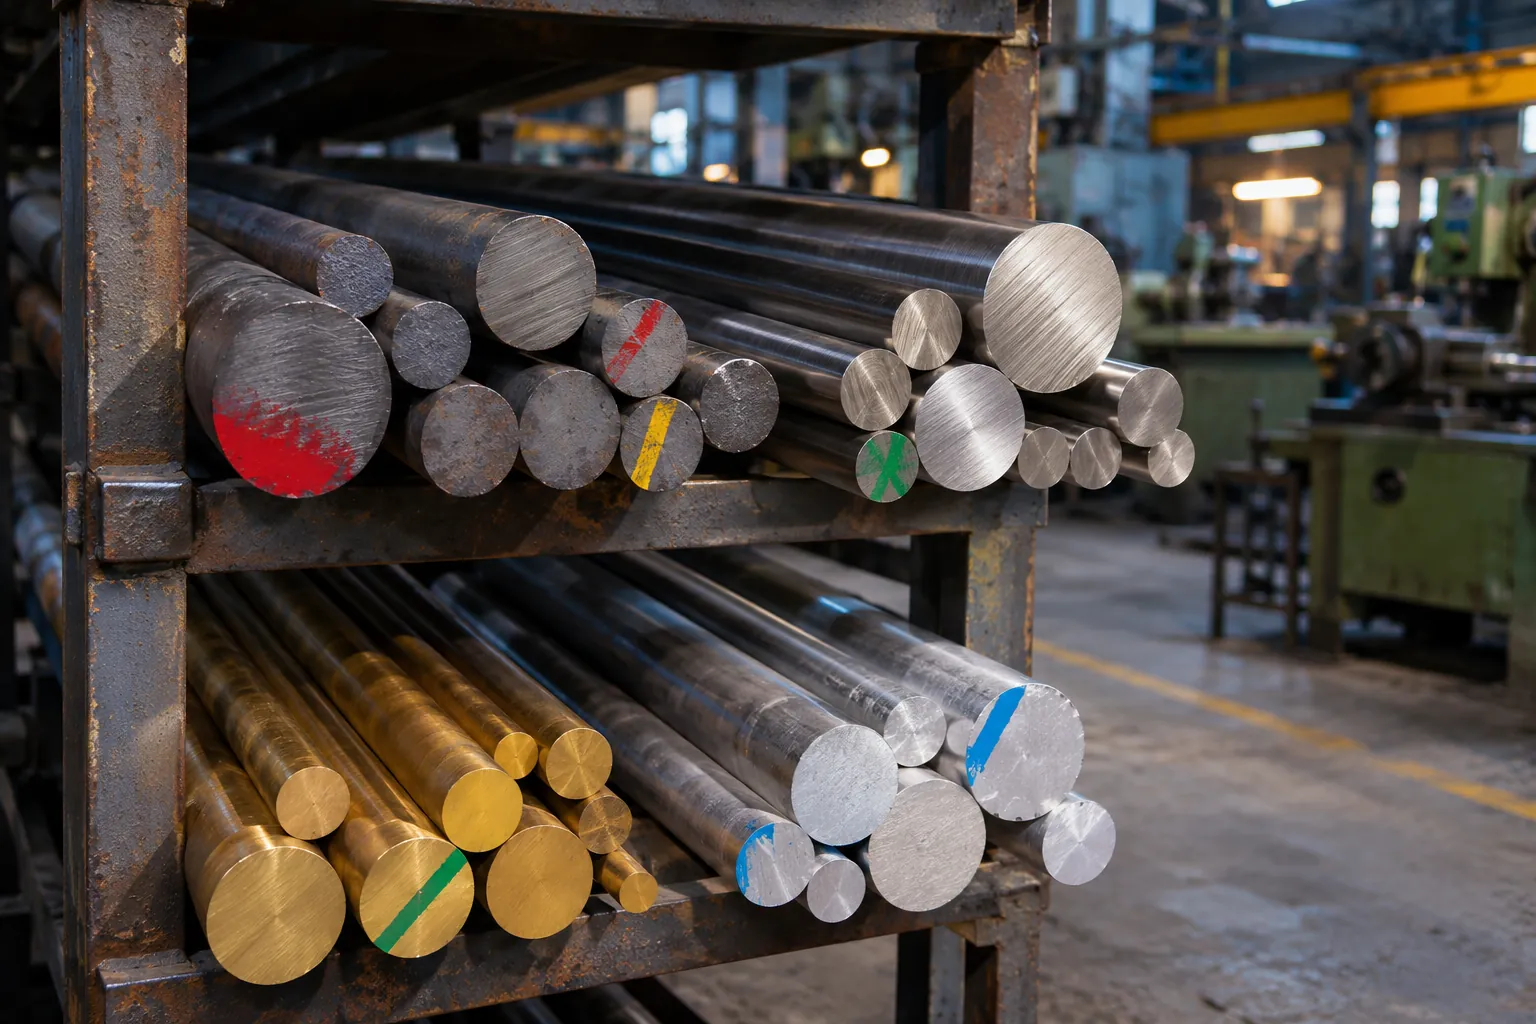
A 50 mm finished shaft is best made from 50 mm bright bar where the surface allows, not turned down from 60 mm. Check available bar and plate sizes before fixing dimensions.
7. Choose the easiest material that does the job
SS 316 can take twice as long to machine as mild steel. Use it where corrosion demands it, not by default.
8. Ask the workshop early
Ten minutes of discussion before the drawing is frozen often removes an operation altogether. A good machinist will tell you which feature is costing the most.